Skip to Main Content

Changing Shapes

Start with a geometric shape and change it into new art through tearing, gluing, and a dash of imagination.

Lesson Plan

Supplies Needed

Gather all the supplies needed to bring your craft ideas to life! From paints and markers to glue and scissors, our crafts section has everything to spark creativity and make every project truly special.

Steps

  • Step 1

    Encourage children to name as many geometric shapes as they can. Discuss how these shapes are everywhere - a rectangular door, a square ceiling tile, a round clock, etc. Then point out that shapes can be combined to make something new; for example, three circles can make a snowman, a rectangle and a triangle can make a chimney, etc. They can also be torn into new shapes. Mention that one shape can be torn into freeform or "organic" shapes.

  • Step 2

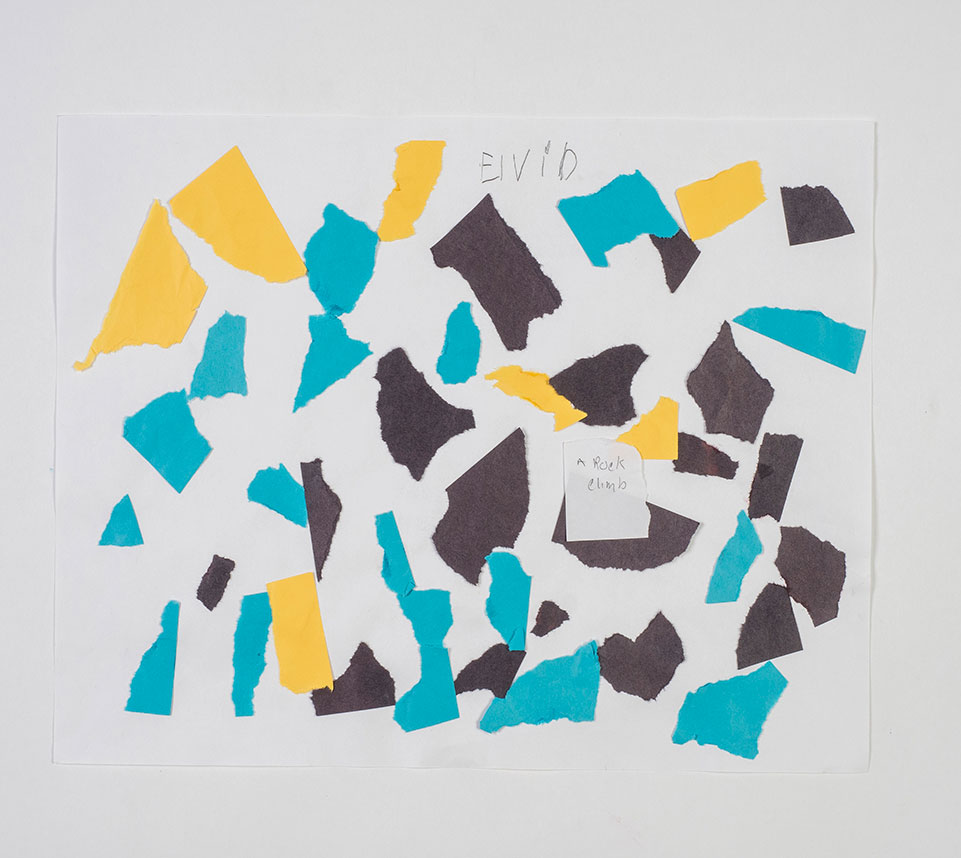
    Have children draw a large geometric shape on construction paper and then cut it out. Ask them to tear the shape into several organic shapes. Then have them arrange and glue them onto another piece of construction paper. They might want to swap some of their pieces with someone else who used a different colored paper.

  • Step 3

    Encourage children to add notes or details to their creations. Ask them to give the art a title that describes what the picture represents.

Standards

MATH: Analyze, compare, create, and compose math ideas using written, oral, and drawn lines, shapes, forms, and patterns.

MATH: Create models that demonstrate math concepts and attend to precession.

Adaptations

Read "Perfect Square" by Michael Hall. Discuss how his geometric shape evolved in the story.

Have students cut out various shapes and then assemble them into objects. For example, a circle and some thin rectangles could create a sun; squares, rectangles, and triangles could become a robot, etc.